The last few months have been full of milestones here on A Peace of Creativity with a Kickstarter launch, the arrival of Mel’s niece, and her mom’s 60th birthday. Today I’m sharing another milestone – my little sister’s flamingo-and-pineapple-themed 30th birthday.
 The decorations were a mix of DIY projects and curated discount store finds, but the hit of the party was definitely the pineapple made of gerbera daisies from my florist friend at Westwood Flower Garden.
 From the beginning, I knew I wanted to keep the color palette limited to bright pink, green and yellow with touches of gold.
 I like hitting a few different discount stores when planning parties, especially if it’s a seasonal event. These awesome flamingo goblets and “sunglasses” were $0.99 and I couldn’t pass them up. Just remember that if you’re really sticking to a theme, don’t try to justify things that only sort of fit your vision just because they’re so inexpensive – in the end you’ll end up with pieces you don’t really love and they’ll detract from what you’re trying to accomplish. I had to remind myself that pineapples and flamingos aren’t the same as luaus quite a few times No matter how cute those coconuts were, they didn’t fit this time around!
 My favorite project was making the cupcake toppers – they served the dual purpose of bringing in more pineapple decor and adding a homemade touch.
 To make them, I scanned a hand-drawn picture and added a circular border (using PowerPoint, believe it or not!) and then used the same size circular border with letters to spell out a message. I printed it all on glossy photo paper, cut out the circles, and used a circle punch to cut slightly larger circles from sparkly scrapbook paper. A little bit of glue, paired with a toothpick secured with washi tape, and they were done!
 The perfect way to relay a birthday wish! As an added sentimental touch, I displayed the cupcakes on a tray that my dad made many years ago.
 A party in my family is never complete without fabric bunting. I found pineapple fabric and selected other coordinating prints, folded all the fabric so I could cut out triangles with the flat side on the fold, sewed a seam about ¼” from the fold, and then strung them on string across the patio.
 I spent most of the morning setting up the yard, but if you were in the Los Angeles area on July 18, you know what happened – rain! At least my tassel garland stood up to it!
 The garland is fairly quick to make and so easy to customize in the colors of your party. I folded each sheet in half and cut strips starting from the bottom edge and stopping about 2-3” from the fold so then when unfolded, there was a solid strip down the center.
 Starting on one side, roll or fold the tissue paper into a tube and then twist the center (the way you would wring out a towel).
 Fold it in half and then twist the top so it forms a loop. At that point you can string them on rope or twine using knots to keep them in place; I’ve also seen people use glue to keep them evenly spaced.
 My sister’s favorite fruit is watermelon…which just so happens to be the same color as flamingos. A flamingo-shaped cookie cutter was the perfect way to add another personalized touch.
 Pineapple extract added an unexpected surprise to my mom’s homemade butter cookies.
 We were all a little disappointed that we couldn’t join these guys in the pool (I think one of them took it all a little too seriously!)
 But, the most important part was that we all made the best of the situation and my sister had a great 30th birthday!

 Lauren and I have been best friends for over 20 years and she is my “go to” person for any and all things crafty. Her technical mind mixed with a love of design makes for a beautiful and easy execution of whatever she decides to create.
Save
Save

 After drying, a quick coat of acrylic gloss really brought out all of the tiny gold sparkles in the paint.
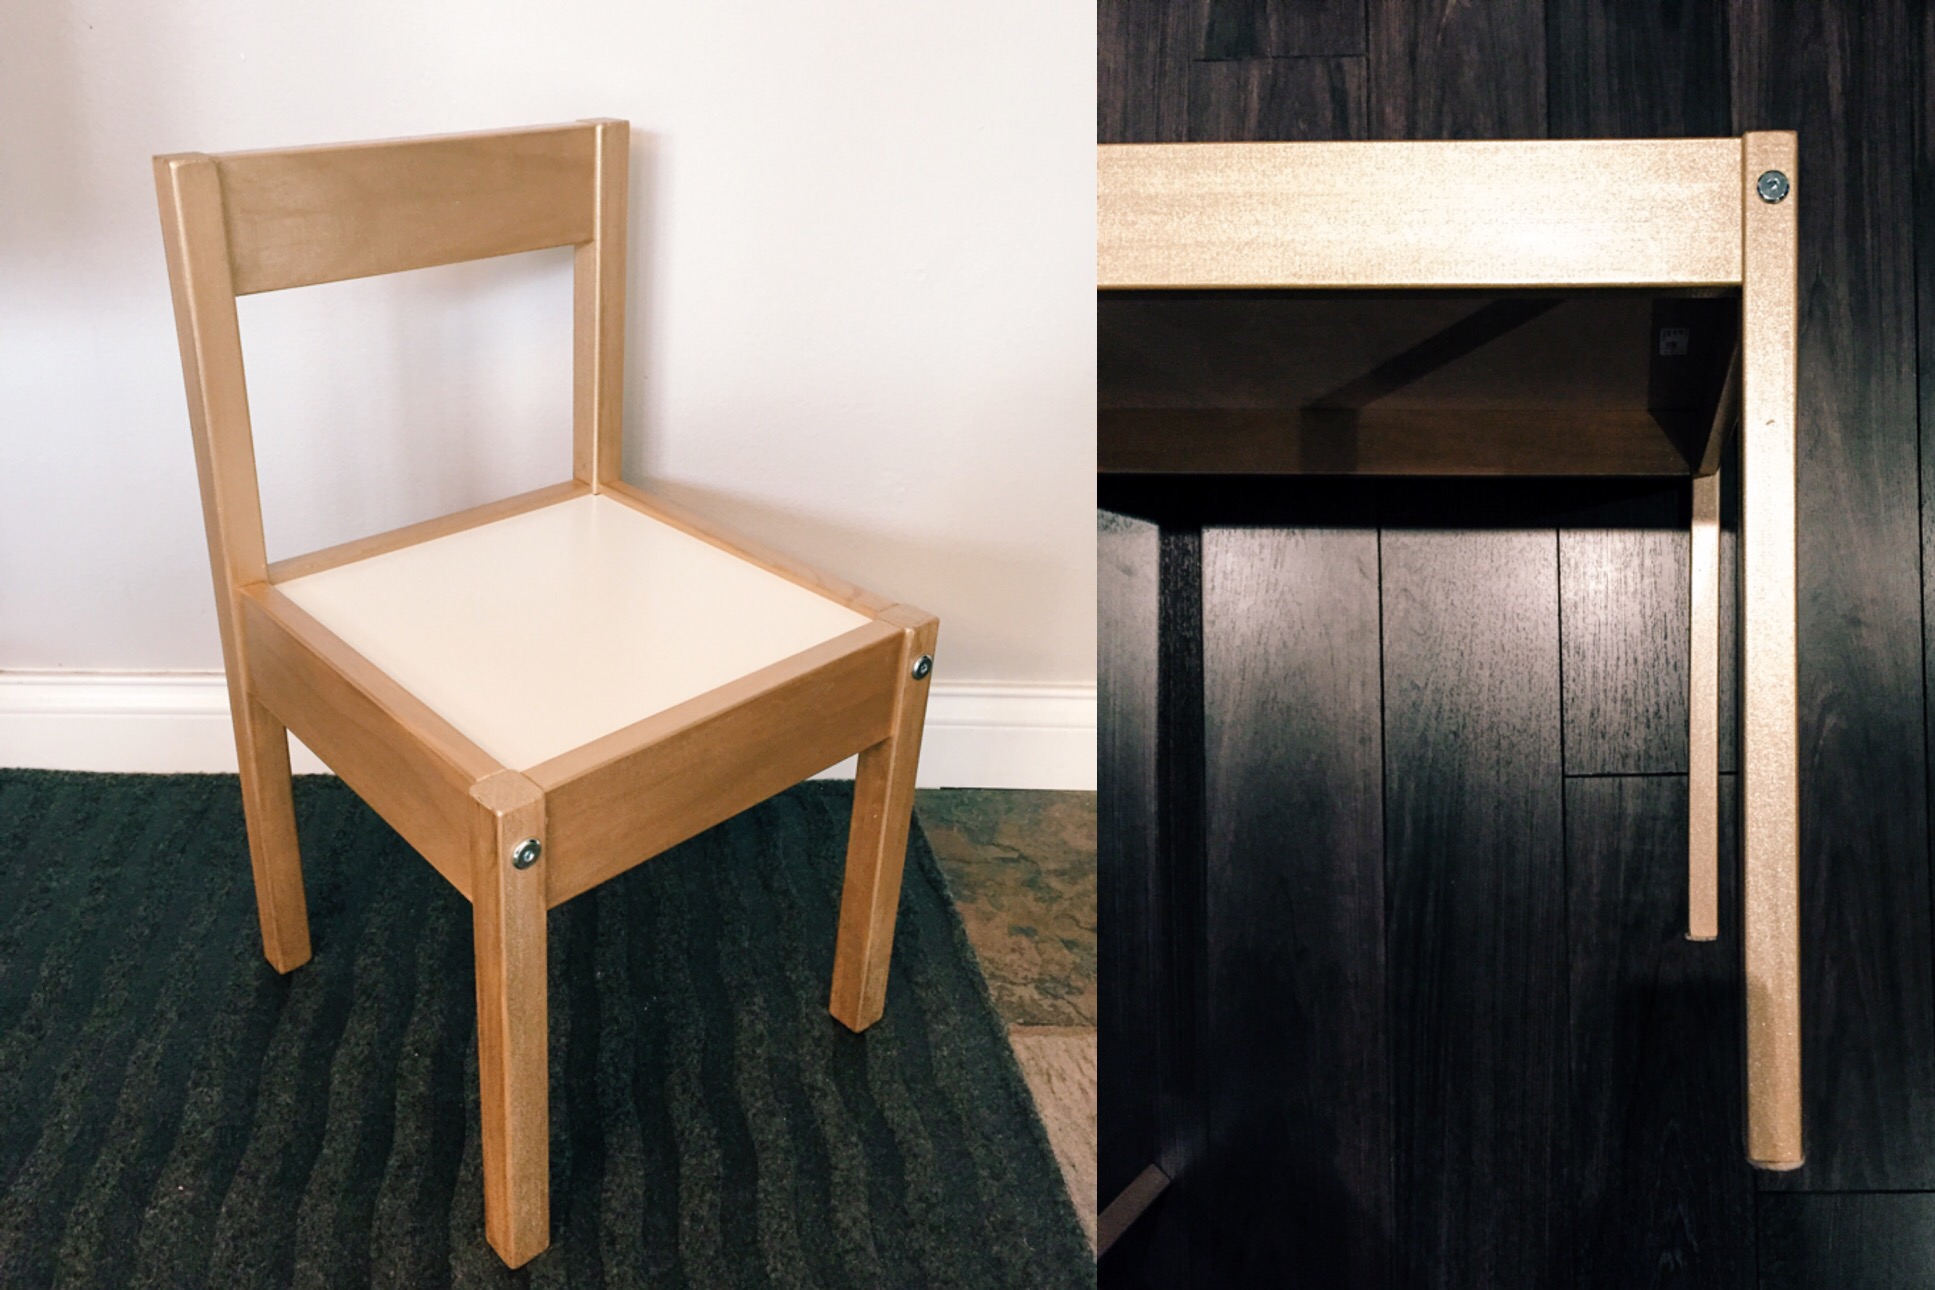 I love that this table is simple and classy yet perfect for my little one. It is still a toddler table but fits right in to the decor of our living room!


 and glued the ends together with hot glue in rainbow order.


 I made three separate strands so that it would be easier to work around the tree. (Actually I only string it 3/4 around the front. Shhh!) Between holidays, I use an embroidery hoop to store it and keep it from getting tangled.


 Julie a fifty-something, married, full-time working mom of recent college grad Eric and college junior Ali. After two years, she is starting to discover some good things about the life of an empty nester: expanding from focus on the kids and career to her place in a larger world, with time to appreciate both natural and designed beauty. So she crafts and bakes now whenever the inspiration strikes…. why not?


