
 This post contains affiliate links, which means I receive a small compensation if you make a purchase using the links below.
Part of the problem of being a crafter is that there is always another tool/toy that you want. Have you seen those awesome clear plastic shaker pouches where you can add confetti and sequins inside? Well, I love them. They are made using a fuse tool to melt the plastic together, which I don’t have but want one day. When I saw the Fourth of July Ribbon Wand from Sweet Rose Studio, I knew that there had to be a way that I could make these with the supplies I had. And that’s when I thought, GLUE GUN!
For these star spangled wands you will need:
- Ribbon
- Plastic scrapbook page sleeves
- 3/8″ wood dowel
- Star templates (or whichever shape you would like to make!)
- Confetti
- Glitter canvas
- Thin rope
- Glue gun
- Heat proof mat
- Scissors

- To start with the shaker top of your wand, cut out a shape template. This star was 4 inches across. Insert it into the plastic sleeve.
- Heat up the glue gun and run the tip of the glue gun around your shape template slowly to melt the two plastic layers together. Make sure to do this on top of a heat proof surface. I used a silicone mat on top of my cutting mat.
- Fuse all the edges together leaving an opening big enough to put in the confetti and glitter stars.
- Cut out your star around the fused area leaving extra plastic around the open section.
 Cut out some stars, a little larger than the confetti, out of the glitter canvas. I cut enough to glue them back-to-back so that each side was a glitter side!
 Remove your paper template from inside the plastic and insert your confetti and glitter stars, the best part! To seal it off, put your paper template on top of your heat mat with your shaker star on top. You can see the template through the plastic and this will allow you to continue to fuse along the remaining edges with your glue gun. The lines were not as straight and thin as they would be with a fuse tool, but they did the job for this project.

Since this was so last minute, I was not able to find any 4th of July themed ribbon. Using the same confetti, I glued red, white and blue stars to the white ribbon. Figure out how full you want your ribbon wands to be and how long to cut them. I used 5 red and 3 white ribbons about 16 inches long. Take your wood dowel and glue gun the ribbons all around the top. Wrap your thin rope to cover the edges of the ribbon around the top of the dowel and secure with hot glue. Add a generous amount of hot glue to the wrapped rope, wait a few seconds for it to cool a bit, and then attach your shaker star.
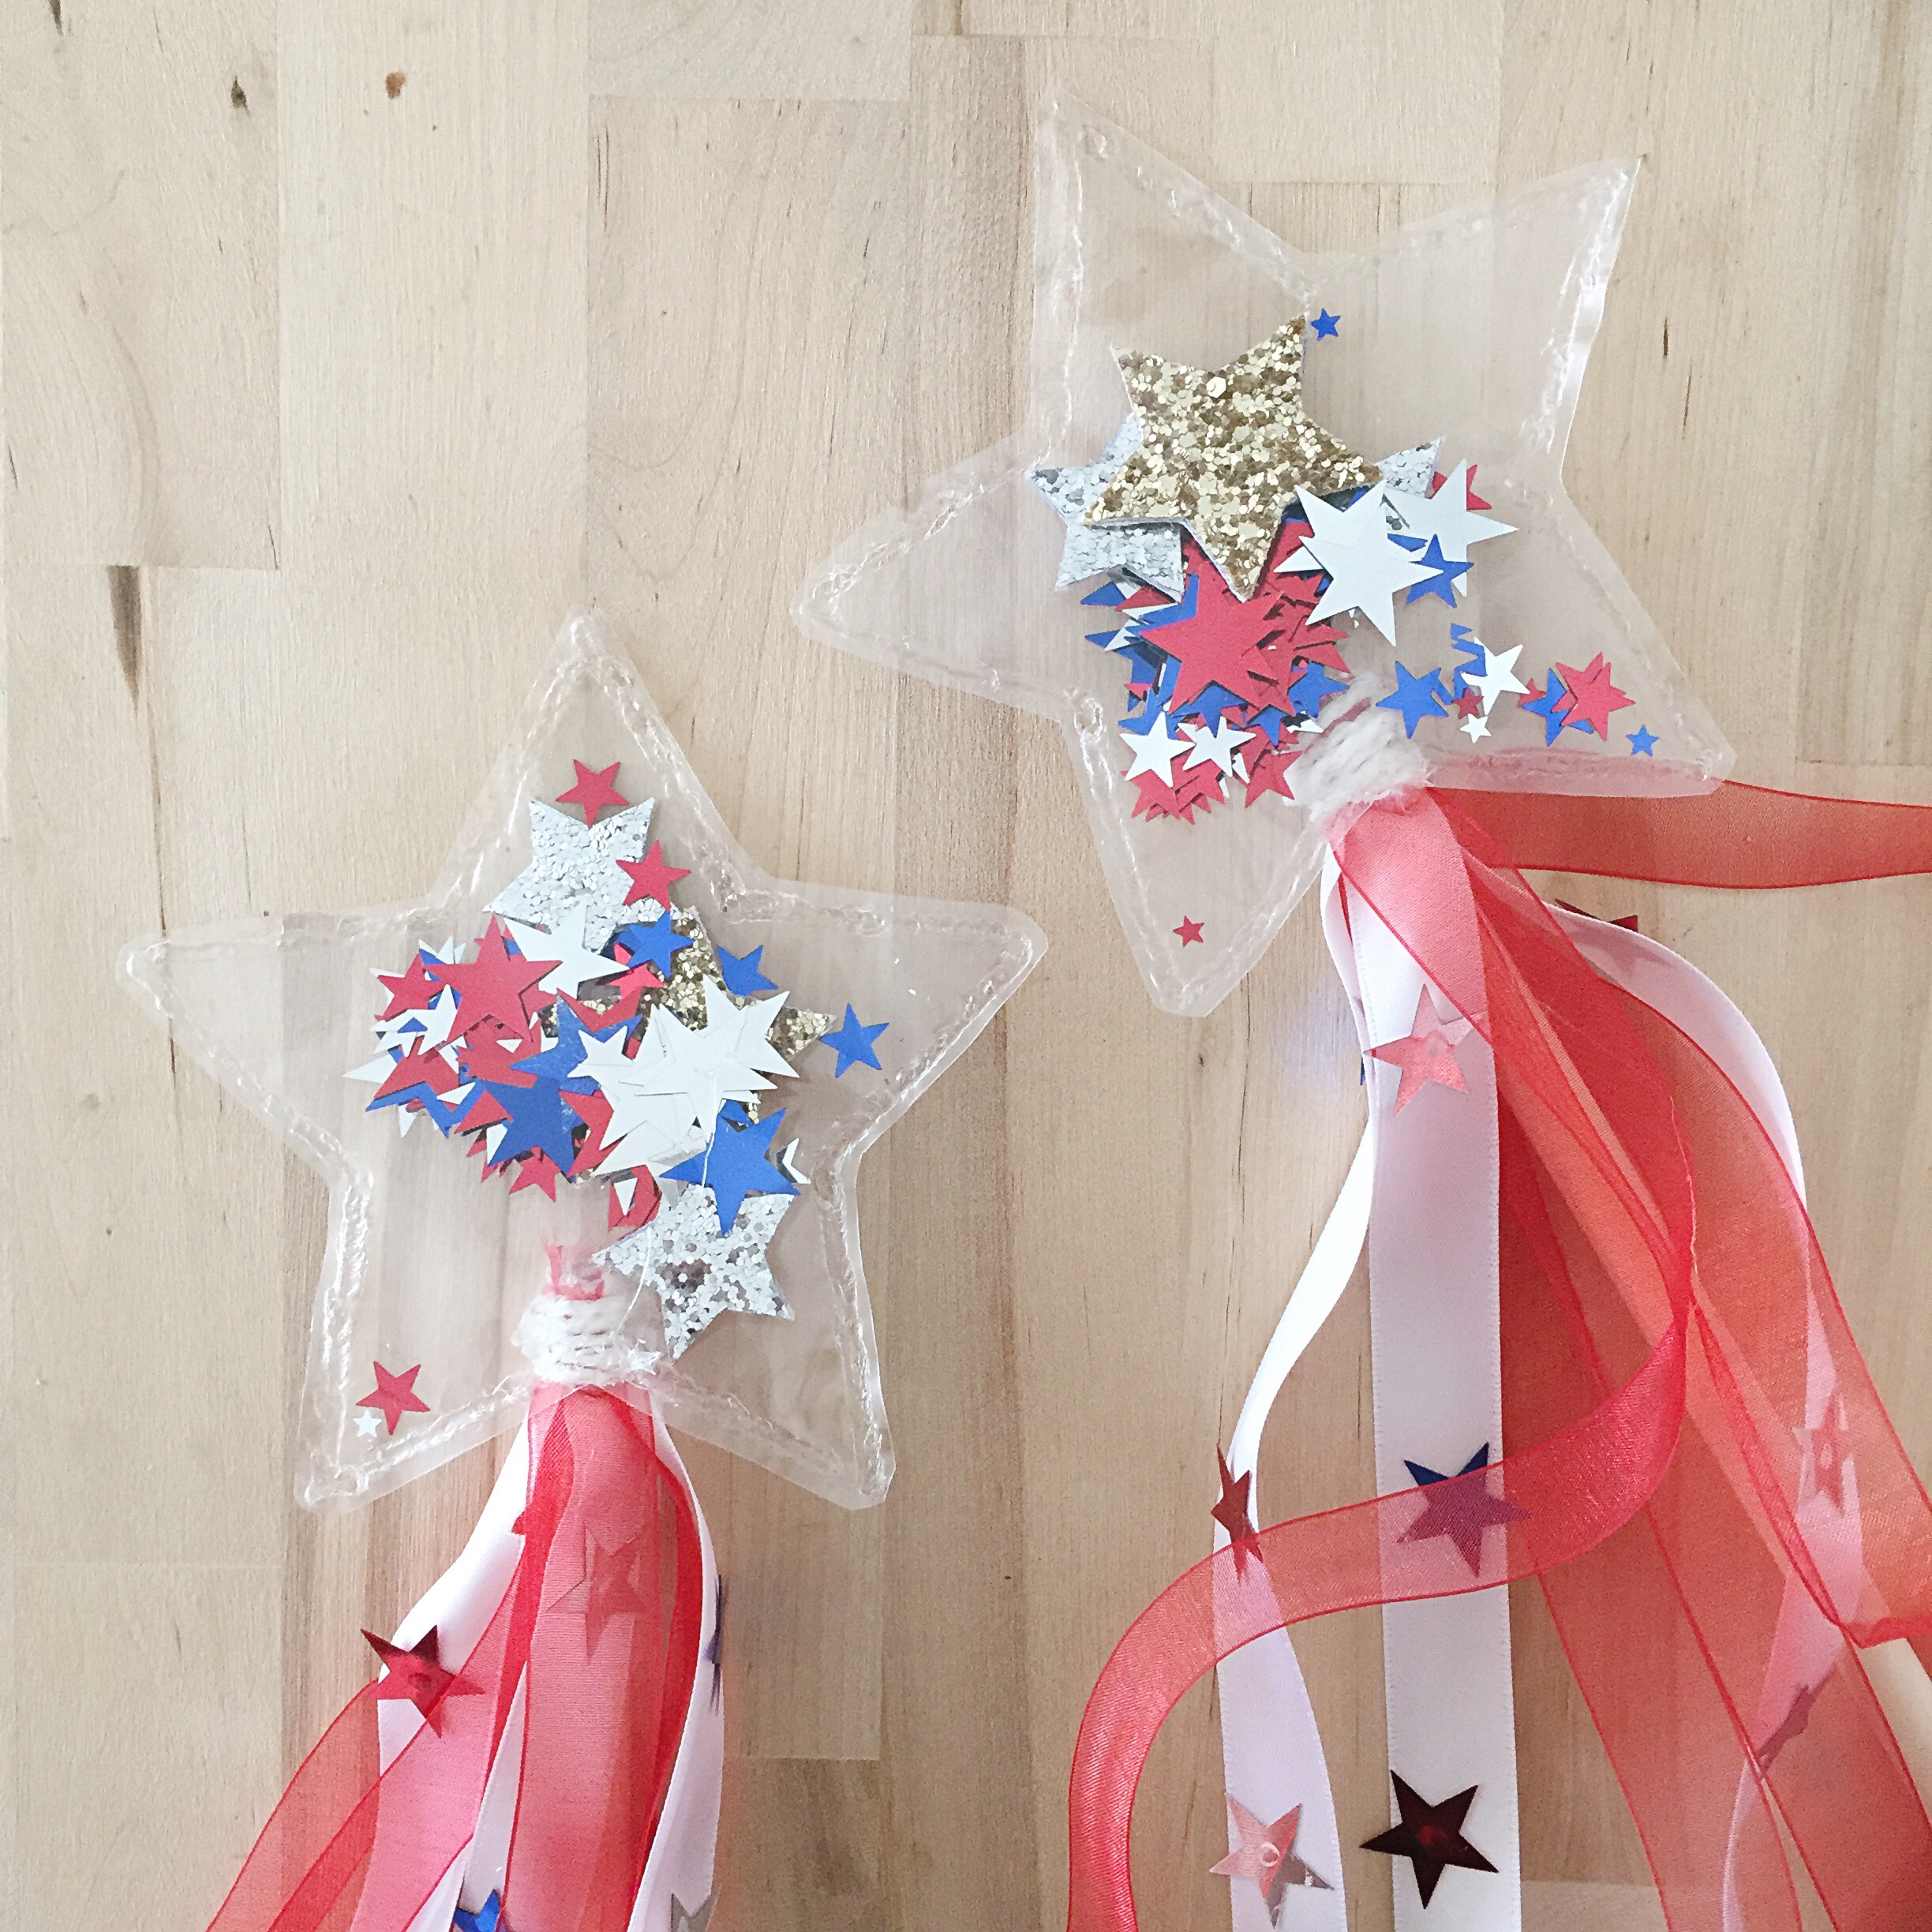 You are ready for your 4th of July parade!


 My mom set up my machine and gave me a quick refresher course as I have not sewn for at least 20 years! Putting two pieces together, back-to-back as they were not printed on one side, I ran them through the machine with a straight stitch. Make sure to have extra thread out when you begin so that you can tie the row onto your hoop.


 Glue all of your pieces onto your base and you will start to see your character take shape! Decide what details you would like to add and embroider those on. I used the outline stitch with only one (black) or two (other colors) pieces of thread.
 Once you decide which setting your character should be in, use the stiff felt for that base. I wanted Pegasus to be on a cloud under a rainbow, of course!
 To make the rainbow, I was not sure how big it would end up being so I started with the inside and worked my way out with rainbow sequins and clear seed beads. I also added some clear, iridescent sequins to the outline of the cloud.
 Turn your character around and hang your ribbons from the bottom with a little bit of glue. Make a loop for hanging and glue onto the top. Cut out another piece of felt to cover the entire back portion and glue on.
 Done! This is definitely more intricate but as long as you have some stiff felt, ribbons and glue, you can make the same thing in whatever shape or style you wish. Cut out a pink heart, add a loop and some ribbons on bottom and you’re done! Get those pre-cut felt shapes and designs and glue those on, add a loop and some ribbon and you’re done!
 This can be a great gift and a way to keep all of the bows and clips in one place with something cute to hang up on the wall or towel rack. Now they are all out in front of her. Hopefully we have cut the “pretty thing” searching down a couple minutes. Lol!


 This is only the second time I have tried macrame and this post is not a tutorial, but I wanted to show you how you can mix different types of textiles, fibers, and techniques to create a unique piece.
  After looping the macrame rope onto a wood dowel with a lark’s head knot, I taped it down to my cutting mat to hold it in place. The macrame was made entirely with diagonal double half hitch knots using a tutorial from
  After I decided the pattern was finished, I tied rope around both edges of the dowel, knotted it and then brought both ends up and to the middle to make a triangle shape and then knotted it again.
 To play on the macrame pattern of circles and triangles, I tied the triangle into the gold hoop. I had previously looped the dark grey yarn along the bottom of the hoop with the lark’s head knots, similar to my other


 surprise your own little Moana!


 Kelly is a mother to two beautiful girls and a self-proclaimed “maker of beautiful messes.” She has been crafting in one form or another for most of her life and gets the most joy out of watching that same creative spirit growing in her girls. She loves unicorns, cake, peonies and anything that glitters. Her trusty hot glue gun never leaves her side.
 In my house, there is a lot of pretend play and dress up happening constantly. My oldest daughter is 6 and quite the “girly-girl.” I swear, I have no idea where she gets this from. No seriously, it wasn’t me. I wear only flip flops, have a handful of dresses shoved in the back of my closet and have been using the same purse for the last 3 years. My daughter however…she’s obsessed with dresses, purses, shoes, and even makeup! She has an entire dress-up wardrobe bursting with princess dresses, purses, shoes, wands, tiara’s, you name it. Nothing makes her happier than to put on a fancy dress with accessories and prance about the house, showing off to anyone who will pay attention.
 If you can trace, cut and weld a hot glue gun, this project will be easy as pie!


 This post contains affiliate links, which means I receive a small compensation if you make a purchase using the links below.


 Roll a piece of clear tape and stick it to the side of the other balloons. Find the spot you want it to go and stick it to one of the base colored balloons. Some may need more than one piece of rolled tape just to make sure it stays in place.


