A good friend has been searching for art ideas for her home and after the Keira letters, I couldn’t wait to try another set. The biggest challenge in this project was choosing a style that was refined and contemporary for their home, which was a lot harder than letters for a little girl’s nursery.
The walls in their house are grey and I thought the black letters would give a nice contrast. I was lucky to find this set of scrapbook paper with mellow geometric prints in a neutral and grey color palette.
 After tracing and cutting out the letters in scrapbook paper, I used spray adhesive to affix them to the front of the wood letters.
 One thing I really liked about these particular letters were that they stood up on their own. This gives my friend some flexibility in where she can put them in her home.
 Since the letters were already black, it allowed me to save time from not having to paint them and accented their depth.
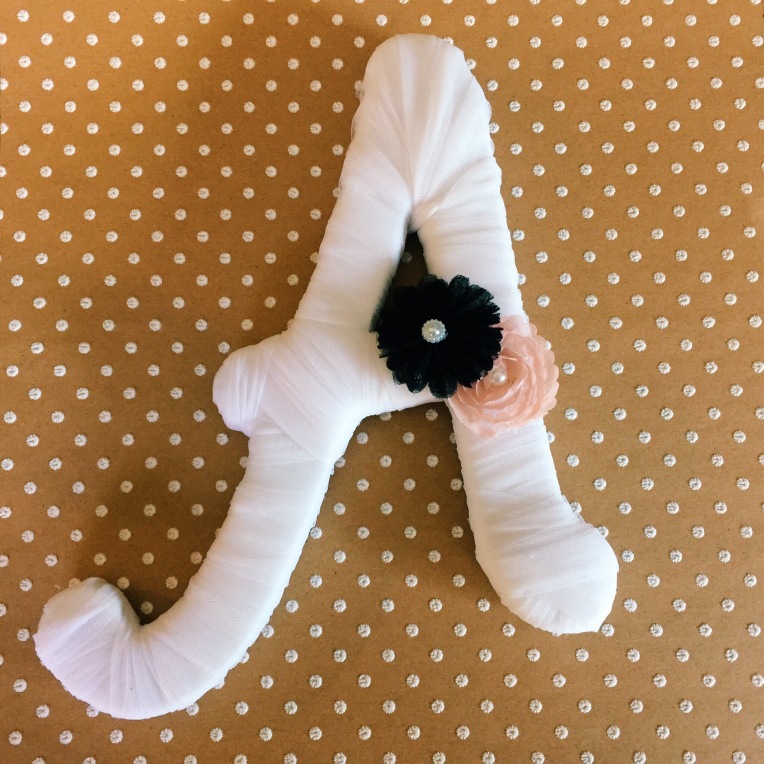
 With all of the fronts of the letters on, it was time to add some decoration. I picked up some paper daisies, pearls, white twine, and metal-like embellishments and the stickers came with the scrapbook paper set.
  Using craft supplies by Handmade Modern from Target, I painted the wood shapes gold and added some daisies and stickers.
 For me, this project was all about simple elegance. I wanted it to look crafty but not kitschy, modern but not cold. Honestly, it was not easy to find coordinating pieces to meet this vision, but knowing my friend and her style definitely helped. The daisies instantly reminded me of her and I based my decor around them.