Paper Kawaii Food

I am super excited to announce this collaboration with… my 4 year old daughter! Lol! In all honesty though, it really was a collab and it is titled “Ellie loves…” Her title in the project was Head of Adhesives with the occasional marker drawing. I have been trying to find a reason to make something in the kawaii style (which is basically putting a super cute face on something) and my daughter’s favorite foods were the perfect subject. Every couple days, I posted one to Insta and we are finally at our last one…the kawaii sprinkled donut. I hope you enjoy seeing them all together in one place and I can’t wait to collaborate with her again!


Save

Save

Save

Save

Sparkle Wine Charms

This post contains affiliate links, which means I receive a small compensation if you make a purchase using the links below.

Wine, glitter and unicorns.  Really, what’s not to like??? I know, I know, you don’t really want to hear about another unicorn anything, or do you? I have to admit, I am actually not much of a unicorn lover but I love all of the rainbow color combos that are coming out of it.  In honor of the unicorn craze, here are my unicorn sparkle wine charms.

You will need:

I love glitter but it can be such a mess. Line a baking sheet with foil and line up your pendant bases. I love the feminine scallops on these.  They remind me of unicorns. To scoop the glitter out of the tube, I used a seafood scoop/pick.  It’s the perfect size to reach into the tube and it picks up just the right amount of glitter. Carefully cover the base with glitter.  I sprinkled a larger size glitter on top but you can experiment and mix with other colors as well! Once you’ve covered the bottom, make sure it is leveled out as best as possible. The seafood scoop worked great for this. Now add a thin layer of your enameling resin.Once you’ve covered them all, pop them into the oven at 325 degrees for only a couple minutes or until you see the resin has cleared.  Once cooled add another layer of resin and repeat in the oven. Continue to do this until it is smooth and completely covered.  After the first cycle, don’t worry if you see craters in the glitter when you take them out. Fill those areas with more glitter as needed to cover the base, but I would only do this after the first cycle.

The resin will harden almost immediately and give you a smooth surface while letting the glitter sparkle through.

With a pair of needle nose pliers, attach the jump rings to the pendants and then attach the charm rings.

And that’s it! Invite all of your unicorn friends over for that glass of bubbly and make sure to follow me on Instagram. I will be giving away a set of Unicorn Sparkle Wine Charms and details will be posted today!

Save

Save

Save

Save

Save

Save

Save

Save

Save

Save

Save

Save

Save

Save

Save

Yarn & Gold Hoops

I am always looking for things to hang on the walls but sometimes a room already has too many frames or mirrors.  The spot I was looking for needed something more organic with texture.  When I saw the DIY Yarn Wall Art by Harlow & Thistle, I knew I had to give it a try.  You can find the full tutorial here.

You will need:

  • Metal hoops
  • Yarn (in coordinating colors and textures)
  • Butcher’s twine
  • A good pair of fabric scissors to trim the bottoms
  • THAT’S IT!

I actually found these gold hoops from the craft store first, but picking out yarn textures and colors took me forever!  There are so many shades of grey, khaki and white, finding the three that go together was challenging. The khaki and cream are pretty standard but I love love love the silvery grey bulky yarn I found.  I love the texture and that it has a slight sheen to it.

Cut the pieces of yarn in 4 foot strips, and two at a time, looped them over the ring with the knot portion facing forward.

After deciding how far you want to go along the bottom of the ring, start on the second loop with the next color. I did the same with the khaki: 4 foot strips, bunched in twos and then looped over the ring, knot facing forward.

For the smallest ring, I wanted to try macrame. I used a tutorial by Parlor. Her illustrations made the process way easier than I expected. Next time, I would like to try it with string meant for macrame as the yarn was quite stretchy and the fibers did not give the knots the definition it needed.

I used cotton butcher’s twine to wrap all of the rings together and create a hanging loop as the yarn would not hold up all of that weight. To finish, trim the ends into whatever shape you choose! I also knotted the bottoms of the grey yarn as they were starting to unravel.

I love this because it was really easy and something different to add to your wall space! Every part can be customized to fit the look and feel of your home.

Save

Save

Save

Save

Save

Save

Save

Guest Peace: A Creative Space

scarethread Rowley familyI share my home with my awesome husband, Ben, two gorgeous children, Jenson and Johanna, and my two hairy feline friends, Fluffy and Shiny. I was born and raised in Vienna, Austria, and moved to England to go to University, where I lived for 10 happy years and met Ben. We decided to move back to Vienna 7 years ago for various reasons, and we are so happy we made that decision! We both love living in this wonderful city so much.
I work for a non-governmental organization, and spend most of my weekends with my children hanging out in a park or lake somewhere. After hours, I am usually eating great food that Ben has prepared for me (he’s amazing in the kitchen!), drinking a cheeky glass of wine and watching Netflix with some embroidery on my lap. I try to make time to sew and draw as often as is humanly possible. If I could have one wish, other than the usual (end poverty, peace on Earth, etc..) it would be to have more time in any given day, or to not have the need to sleep (hmmm…., I love sleep, so scrap that idea). So if it could be arranged that a single day could be extended to 30 hours, and then the extra 6 hours could be used exclusively for creative and leisurely pursuits, that would be wonderful.
Photo: Sarah and her family

The goal: to have a space that was exclusively mine. As a full time working mum, I really felt the need for a space where I could sit and relax and be creative once the kiddies were asleep. It had to be functional, yet Pinterest-worthy. And in this space I would be creative, I would have all the time in the world to create masterpieces, enjoy the quiet alone time I sometimes so desperately craved, all the while sipping blissfully on a glass or two of wine. Happy! scarethread_01.JPGI decided that the bedroom would be the perfect spot. We drove to IKEA and found some amazing grey geometric wallpaper, and this happy looking yellow chair, and table. It was lovely. And I enjoyed sipping my coffee in the lounge chair during the occasional quiet moment.

But it wasn’t quite the creative space I desired. So, for my birthday in April, I asked Ben for my very own desk. Off we drove to IKEA again, I love IKEA!

I decided I wanted a bamboo top rather than the standard white top. In our excitement, we bought it without measuring (helpful tip: always measure before you buy!). The bamboo top wasn’t wide enough!! But that’s okay because the bamboo looked way better than the white, so I just got Ben to “fix” it by sawing the trestle legs a bit. Photo Aug 28, 8 51 59 PM.jpg
This is the table all ready to go, I just needed to add some finishing touches (notice how we tackled this project with a glass of rosé on the go. classy! And there’s Jenson, making himself at home). While we were at IKEA we bought that plant (now called Agatha, she has since been relocated to the living room, where the cats take a nibble out of her once in a while… sad times), and we also bought that chair, but I think I would like to replace it with something else in the future. I’m not sure what I’m looking for yet but I’ll know it when I see it!

My brother recently bought a gorgeous house just outside of Vienna, and he found a bunch of old window frames in the basement that were used in the house originally. He was going to throw them out anyway, so I think I was doing him a favour taking them off his hands. Best find ever!
Photo Aug 28, 8 59 23 PM.jpgI was tempted to sand them down and paint them an awesome colour, but when I put them against the wallpaper I thought they looked awesome just as they were. They had a rustic charm to them. That decision saved me a lot of work, which meant more time for crafting and wine. Hurray! (There’s Ben again, doing all the manual labour.)

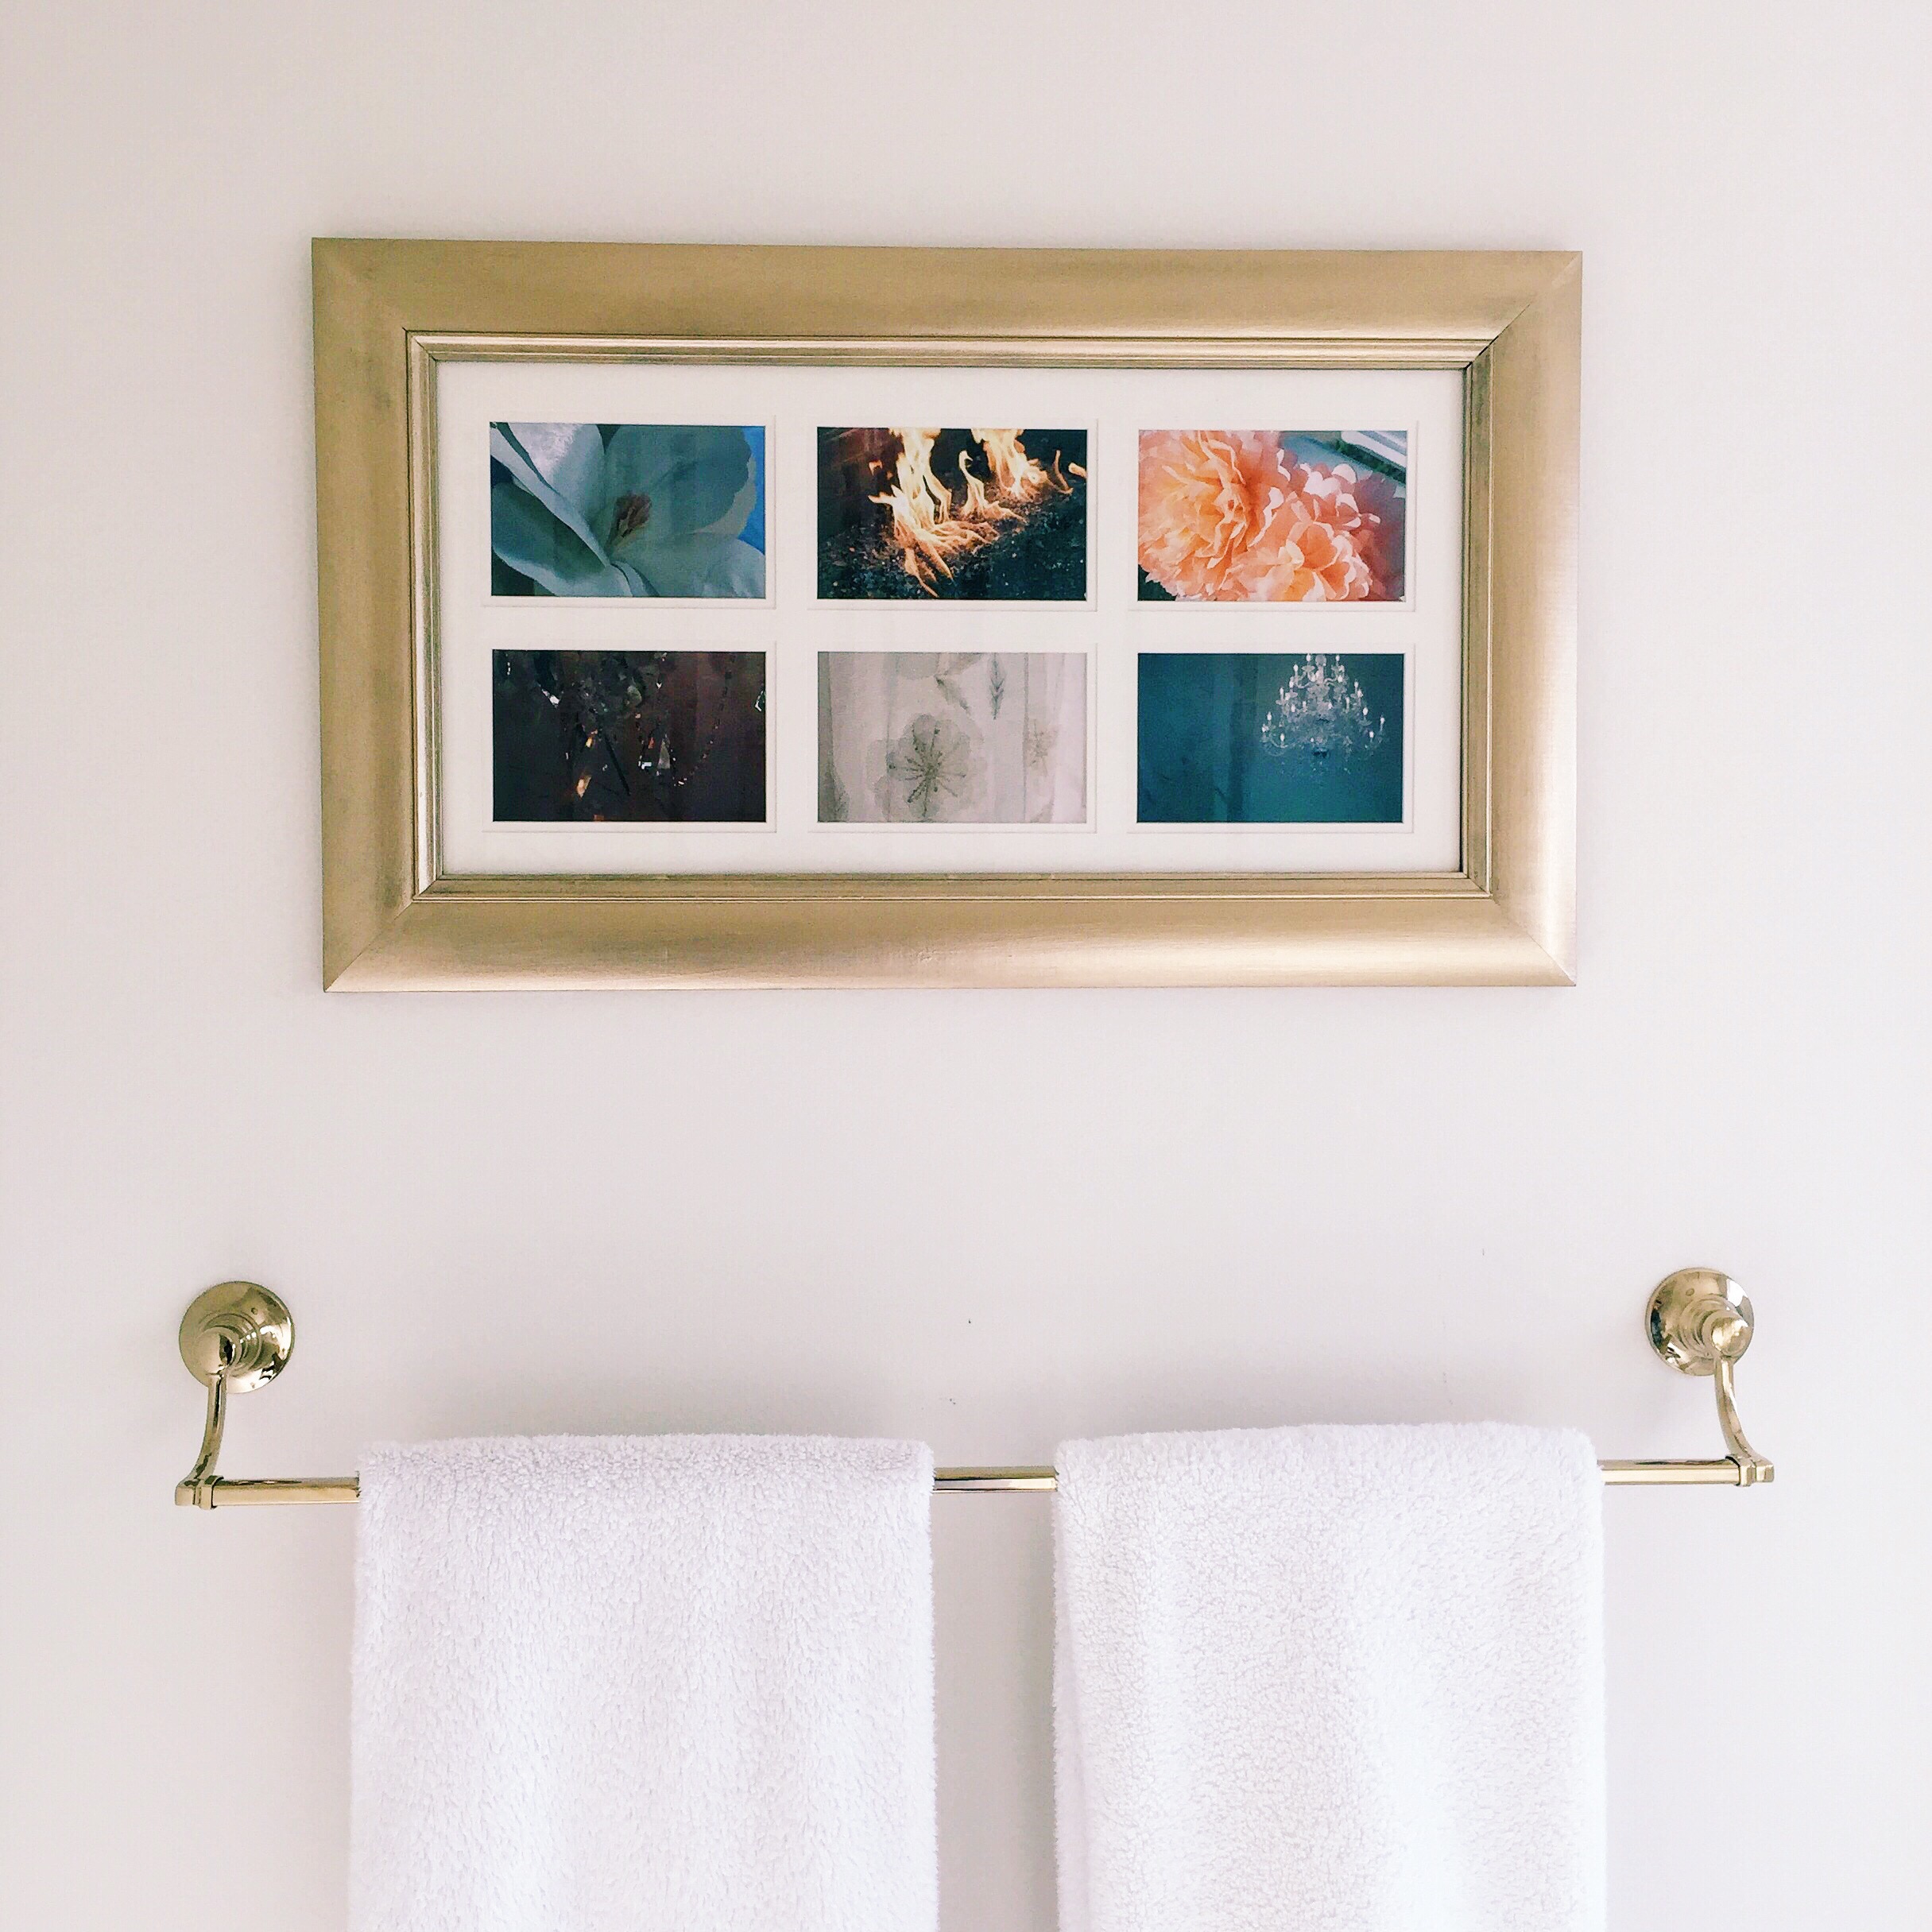
I slowly started to add more personal items to the area to make it a place that I would feel inspired and happy. There are two photos taken by Ben when we first moved to Vienna: he took the same photo over the Danube river for about a year and some of the results we just stunning; an old photo illustration that I had custom made for me back in my early twenties and a number of little cacti plants and other bits and bobs.

scarethread_08.JPGThis space continues to be a work in progress. Eventually I want to add some shelving so that I can put the cacti and other more useful items on it, which will allow the desk to be a bit more spacious. I also want to add some extra storage to house my small fabric stash that I am desperate to transform into a LARGE fabric stash.

scarethread_11I would also like to get a record player in the room somewhere. I’m in the habit of automatically turning the telly on in the evening, and then I inevitably find myself distracted by zombies or Tom Hardy, depending on what I’m watching. I think it would be lovely to listen to some records and fully immerse myself in my creative little space. I have my heart set on a Crosley X UO Sterling Vinyl Record Player in turquoise from Urban Outfitters. I think this would make the perfect Christmas present (she says with her fingers and toes crossed, hoping a certain husband will get the hint).

Thank you so much for listening! Sarah xxx

For more of Sarah’s creative adventures, make sure to follow her on Instagram! @scarethread

Save

Save

GUEST PEACE: A Gold, Glam, and Fab Bridal Shower

My dear friend, Yadira, is engaged to be married next month and she recently had her bridal shower hosted by Linda and family.  This fam could open their own event planning business with talents in multiple areas! Needless to say, they threw a gorgeous bridal shower.  Here is a peek into her gold, glam and fab shower!

A re-purposed wood sign and thrift store wire screen painted gold by Linda’s daughter and the bride-to-be’s BFF, Katie. Photos hung on the screen by Jordan Hazel.Linda’s husband, Reid and craftsman extraordinaire, painted and put together the posts surrounding the main banquet table.Outdoor bar cart complete with a hand stenciled “Bubbly Bar” sign and lots of rose!Gorgeous floral centerpieces by Linda’s friend, Elizabeth: roses, lisianthus, ranunculus, stock, coffee bean and geranium leaves

The gold containers were spray painted gold by Reid and complimented by paper goods purchased from Etsy and Cake Girls.Catering by Linda’s son, Daniel: smoked salmon, parmesan crisps with a goat cheese mousse, chicken salad on wonton skins, toasted points with micro greens and vinegarette, bruschetta, mini eggplant sandwiches, and mixed greens with carrots, cucumbers, and grilled chicken with a ginger citrus dressing.Linda’s daughter, Sarah, made the naked cake from scratch to accompany the mini eclairs and cream puffs.Custom photo backdrop complete with an old painted bench by Reid, tissue paper tassels, and gold frames.Katie spray painted old wine and beer bottles to place as accent pieces around the garden.Favor bags: pink tea bag with a pink rock candy stickWhite lanterns and glass and gold tea light holders hung from the poles above the table for a dreamy and romantic feel.The beautiful bride-to-be and her flower crown by Elizabeth.  We can’t wait for you and Mike to tie the knot!

Linda is a Southern California native and a passionate party planner in her spare time. Every event she holds is perfected down the the smallest detail.  She has a beautiful eye for color and shabby-chic, rustic decor. She is a loving wife, mother of 6 and has 8 grandchildren!  That’s a lot of parties!

Save

Save

Guest Peace: Cakes & Cookies

Tiffany is a full time working mom of 3 amazing kids ranging from 8 months to almost 8 years old. She has loved cooking and baking since she was a kid. After completing her master’s degree in business, she was still drawn to cooking and baking and decided to attend culinary school. Tiffany had her first child towards the end of her culinary education and since then making treats for family and friends has been her culinary outlet.

I started dabbling in cake and cookie decorating when my oldest son turned 3. I had very specific ideas of how I wanted the kid’s birthday cakes and treats to look which made the ones I purchased pretty pricey.

Photo May 15, 1 04 22 PM

As I decorate my treats my older kids often sit at the table and work on their own creations. They usually end up using the extra fondant like play dough which gets messy but it is fun quality time.

Most of my designs are based on what the client requests. And by clients I mean my kids, nieces, nephews and close family friends.

One of my latest projects was a doll cake for my niece. She knew exactly what she wanted and gave me detailed instructions. It was so much fun.

Photo Jun 26, 3 32 40 PM

The typical design process starts with the client telling me the theme of the cake. Then together we look at pictures so that I am sure to include important details. Once that is done I sketch out a rough drawing of the cake and create a game plan on how to accomplish the design. With the exception of the dolls, I try to keep everything edible.

Photo Jun 26, 3 32 49 PM

Larger figurines on my cakes are made out of rice krispy treats. What’s the point if you can’t eat it, right? If krispy treats do not work I use extra cake or even cookies to get the job done.

Photo May 15, 1 04 05 PM

Taste was also a huge factor in how I wanted to make my cakes and cookies. I was never a huge fan of fondant until I happened across a recipe for marshmallow fondant. What a game changer! Delicious and I could make all sorts of fun design with it.

For the cookies, I use candy melts for the simple designs. Candy melts on sugar cookies are wonderful! There are times when royal icing is necessary though. I try to keep the designs simple so that the cookies do not need extended drying times. There is nothing tasty about a dry cookie.

My fondest memories are cooking and baking with my grandma over the weekends. It was never anything particularly fancy but my grandma had a way of making the simplest things amazing. Now as a mom of 3 I want to create similar memories with my kids.

Save

Save

Save

Save

Mermaid Princess Party

While I was (very) pregnant with the twins, my best friend’s daughter was turning 3 and having a mermaid party. I really wanted to help even though I could barely walk through the store at the time! I didn’t know what I was going to make at first but I knew that I would use whatever I could find at the dollar store in one trip.

Looking for anything mermaid or princess, I decided to pull together some centerpieces.My daughter and a I spent some quality art time together dipping shells in fuschia, aqua, and green glitter…

and we carefully placed them in the bowls on top of the glass beads with the mini tiara combs.I wrapped jeweled ribbon around the top of the bowl and glued small styrofoam balls to look like pearls.After everything was done, each centerpiece probably cost about $3 a piece. Such a steal and perfect for the mermaid princess’ special day!I had some leftover shells and pearls. How cute are these for some table confetti?


For more mermaid princess crafts, check out these tiaras and wands!

Save

Save

Guest Peace: Doodles to Letters

profile-imageCurrently working as a graphic designer, Lisa resides in Los Angeles with her two cats. (They are jerks.) She is an avid tea drinker who often laments about the lack of good tea shops nearby and also the lack of puppies in her life.  She dreams of “making it” as a lettering artist, who also runs an alpaca and goat farm.

I’ve actually only been doing lettering “officially” for about two months now. I can’t really pinpoint what got me interested but I’ve always been a doodler.  I look back on meetings notes, and inevitably there are doodles in the margins, between paragraphs and in corners.  I’ve been really fortunate that a lot of my friends have been really encouraging and supportive.  I was dragging my feet about posting my work, before a friend pretty much gave me a deadline and forced me to do it.

img_1_LisaIsTheLaI have a list of words, quotes and ideas, but a lot of my pieces start on whatever catches my fancy.  I tend to sketch really rough and loose thumbnails. I have also developed the habit of keeping sketchbooks everywhere, so I’m always ready to jot down an idea.  I honestly keep a sketchbook by my bed, just in case!

img_3_LisaIsTheLaOnce the sketches are getting to a place I like, I rework them on regular printer paper.  Nothing really fancy.  This can go from one round to six rounds of just refining the artwork. When it’s at a place I am okay with, I ink the art, and scan them in. With a little Photoshop and Illustrator magic, I add texture and clean up little mistakes.

img_2_LisaIsTheLaI’m not sure where this will take me. I’m still trying to find my style, and it can definitely get frustrating, but despite this frustration, I find a lot of joy from the work.  I have so many ideas and mediums I want to try out, like chalkboard lettering, sign painting, quilling and embroidery.  It just really gets me jazzed up that there are so many avenues that lettering can go and I want to explore all of them.

Make sure to check out Lisa’s website and follow her on Instagram to see more work and keep up with all of her lettering adventures!

Save

Save

Guest Peace: Geometric Cork

When I moved into my new office a year ago, I wanted to make it mine in a way I hadn’t done in my last office, but as often happens, I was overwhelmed with such a blank slate. I wanted a way to incorporate photos of family and friends in a way that was suitable for a professional office, that didn’t include a lot of picture frames (talk about too many choices…), and that kept the photos in a place that I could enjoy them. So many of my colleagues have photos in their offices that are only visible to their visitors. I wanted these to be for me when I need a little pick-me-up or to help me escape to some of my favorite places and past vacations.
My plans often came to back to corkboard, but it didn’t seem polished enough or appropriate for the office…a little too college dorm room. Roaming the aisles of Target one night, I was struck with the inspiration to add some geometric designs, fancy push pins, and GOLD paint. All of my supplies were purchased at Target and the whole project easily came in under $20 and took me just one evening to complete. The corkboard even came with adhesive to easily hang them on the wall.  I used painters tape to mark off random designs on each piece of corkboard, playing around with different angles and amounts of space.

 I painted with the eggshell paint first, allowing about 15 minutes to dry in between coats. Since the cork soaks up paint, it took about three or four coats to get the coverage I wanted.

 After the eggshell portions were dry, I removed the tape and applied new tape in different directions to mark off where I wanted the gold portions to be. Again, three or four coats of paint were needed.

  
I almost didn’t want to cover them with pictures once I hung them, but I love that I can see all my photos when I look up from my computer screen.

 It’s so easy to change them out when I feel like it without worrying about the photos needing to fit in a certain frame or be a certain size, and since all of my photos these days are just inexpensive online prints of iPhone photos, I have a never-ending supply of new material.

393197_10100930939217166_496989639_nLAUREN AND I HAVE BEEN BEST FRIENDS FOR OVER 20 YEARS AND SHE IS MY “GO TO” PERSON FOR ANY AND ALL THINGS CRAFTY. HER TECHNICAL MIND MIXED WITH A LOVE OF DESIGN MAKES FOR A BEAUTIFUL AND EASY EXECUTION OF WHATEVER SHE DECIDES TO CREATE.

Save

Save

Save

Wedding Artwork

It’s February and the month of LOVE.  To express my love affair with metallics, each post this month will be a GOLD project!

We have a good collection of decor photos from our wedding taken by Karen Nakamura. I love that they show the thought and work we put into that day as well as the feel and ambiance of our venue. When we moved into our home from our condo, we switched to white wood pieces instead of dark. Instead of getting rid of this frame, I decided to paint it.

  I found this paint at the local craft store and although I have never used it before, I absolutely love the color. It is more of a champagne gold than yellow gold and it has super tiny sparkles, just enough to make it elegant and dynamic without being too cheesy. I admit that I am not a fan of sanding. I did not sand this frame and instead just put the paint right on. It took about 3-4 coats to cover the black, but a little black still shows through which gives it a really interesting texture. I did gloss it, which took it from home craft project to something you could find in the store.

  The frame hangs nicely in our master bath. You can see how different the color looks depending on the lighting and time of day.

Finding artwork for your home is one of the most challenging parts of decorating. I am always saying how I prefer things with meaning, things you already have access to, and things that bring such good vibes and memories to your home. What’s better than to use photos from your wedding or any happy occasion that you love to remember.

Save

Save

Save