My sister Sara is getting married! The bridal shower kicked off all of the wedding festivities so Emily, our youngest sister, and I wanted to make sure we set the tone right.  Not gonna lie, the tone was really hard for me to get a handle on as I kept wavering between a lot of different themes and looks to the shower. Emily set us on the right track when she sent me a color palette that she thought really resembled Sara’s tastes. From there, I was able to base almost every decor decision on that color palette.
TIP: When planning an event’s decor, find one or two inspiration pieces (a color palette, a swatch of fabric, a paper print, a piece of home decor, a bouquet of flowers, etc.) that will be your guide. Measure each decor decision on those inspiration pieces and you will have a cohesive look to your party!
I love decorating my front door for events. For one, it let’s your guests know they have the right house and I think it just adds to the party atmosphere. Sara’s taste is a sort of classy, minimalist with just a touch of pop whether that be metallic or floral or color. She loves clean lines and simple design and I tried to tailor the look of that in her invites.

The entry way is always a fun place for me to decorate. Emily inspired my cherry blossom banner and doily cut-outs in her suggestion to use circles in the decor. And we found this AMAZING letter board on sale the day before the shower.

The favors were handmade, scented gem soaps, made by Ems! (Tutorial here) Each color was a different scent, rosemary, tea tree, eucalyptus and lavender!
As with any design aspect of our party, the favor packaging was very important. We needed the outside to match the amazing soap inside. I was introduced to Cream City Ribbon and the beautiful ribbons they make. They were the perfect addition to the favors as Sara has a deep love and appreciation of artisanal work and these are made on machines from the 1920’s! See more here!

 The only instruction Sara told me and Ems was “No cheesy games!” LOL! Is there anyone out there that actually likes those cheesy shower games??? If so, I have not met them yet. Sara and Cole love to eat and cook and as Cole is vegetarian, they could always use more options of meals they can enjoy together as a couple. Recipe cards were sent out in the mail with the invite and we asked that they write down their fav dish (veg appreciated) and bring it to the shower. Our other activities included a date night idea jar and the ring game! Aren’t those rings adorable? They are erasers believe it or not! You can find them here.

All of these floral handkerchiefs belonged to our grandmother who passed recently and it was a nice way of having a part of her there.
My favorite party drinkware are the glasses from the dollar store! The best part is that they are all plastic. The little “love” swizzle sticks completed the picture.
In typical brunch fashion, there were a lot of cute, little bites to eat: mini pancakes, egg souffle, cut fruit and mini yogurt parfaits… with the centerpiece being my paper leaf and metallic octagon chandelier. Tutorial here! 
Our local Spudnuts donut shop not only has the best tasting donuts but they do custom decorations! They were able to swash these with light strokes of metallic edible paint for me and they could not have been more perfect. Especially with their glitter gem toppers.
Have I told you guys how much I love my Cricut? I mean, look what it does for me! If you have the vision, it can make it!

Custom cut doilies, leaves and metallic octogans hung from the patio lights and decorated the tables.

TIP: Use your Cricut “weeds” or the cut-out parts you are not going to use, as confetti!

Last, but not least, there is a wall in my dining room that I always like to use as a photo wall. See my other photo backdrop here.
TIP: A photo wall not only adds more decor to the event but is a great reminder to take photos!
I covered the painting that was already hanging there in craft paper and Emily found the most perfect colored streamers (teal, peach and grey) and hung them as a backdrop.
Happy to say, that despite the 100 degree weather, the event was a complete success just based on seeing our sister’s face and hearing her reaction when she walked in the door and I hoped she felt very loved! Stay tuned for the next event, the Palm Springs trip!

 This post contains affiliate links, which means I receive a small compensation if you make a purchase using the links below.
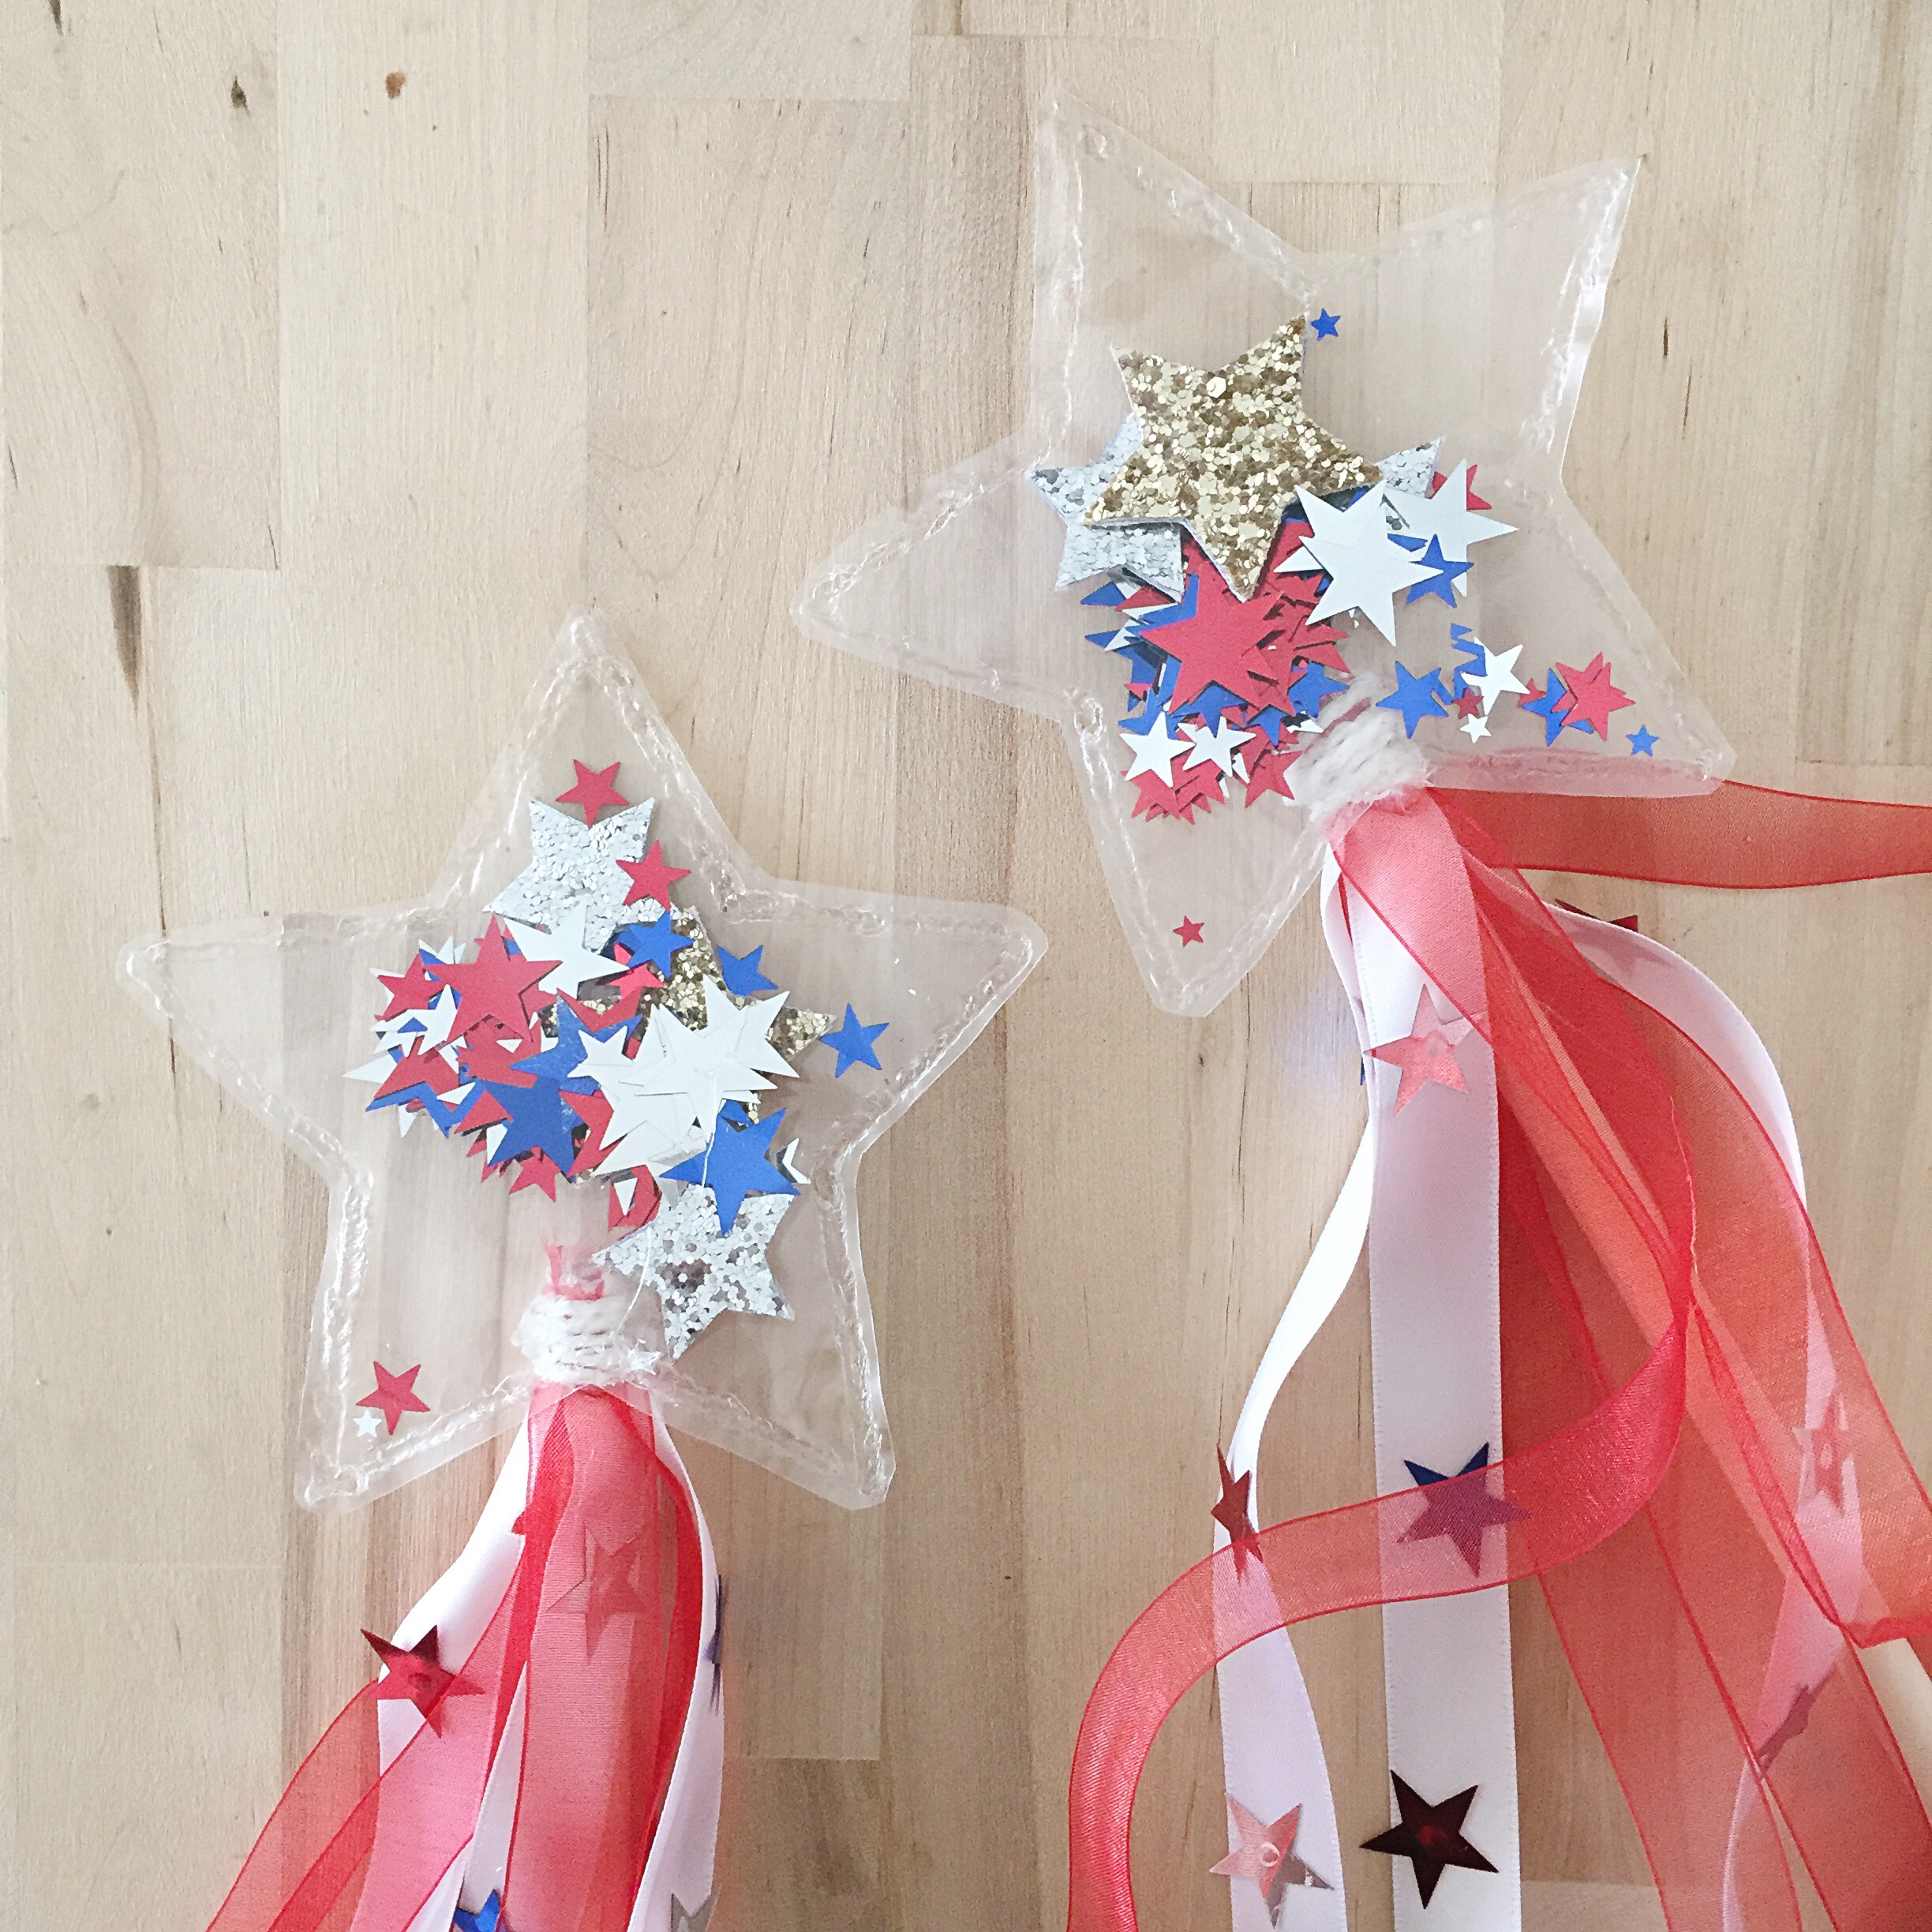
 Cut out some stars, a little larger than the confetti, out of the glitter canvas. I cut enough to glue them back-to-back so that each side was a glitter side!

 Wrap your thin rope to cover the edges of the ribbon around the top of the dowel and secure with hot glue. Add a generous amount of hot glue to the wrapped rope, wait a few seconds for it to cool a bit, and then attach your shaker star.