Did you catch those pom pom and tassel keychains at my Craft Night? Well, they were a super easy DIY favor I gave to everyone who joined in all of the making!

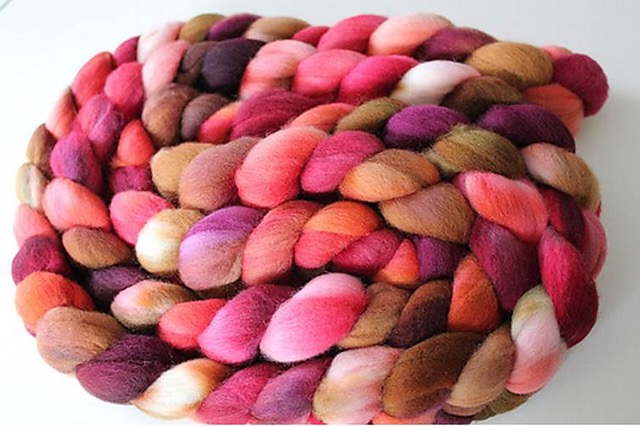
When we returned from vacation in Cabo, Mexico, I was so inspired by all of the colors in their handmade pom pom and tassel items that I went straight to the craft store and picked up these yarn skeins with super bright color gradients.

For this craft, you will need:
- Yarn in the color of your choosing
- Wood beads
- Pom Pom maker
- Tassel maker
- Lobster jewelry clasps
- Jump rings
Now, you don’t “need” to buy a pom pom and tassel maker BUT I did try and make them using the hacks you can find online and let’s just say I was happy to invest the <$10 for each of these items to make my life a little easier.
The directions on the back of the pom pom and tassel maker packages were fairly good but if you prefer to try your own method, Pinterest has some great tutorials.

When you make your tassel, make sure to leave enough string on top to add your pom pom and any beads you want to use. You will also be tying the lobster clasp to that string so make sure to factor that into the length as well.
- Thread your string into a large needle.
- Add your beads and use the needle to push the string through the center of the pom pom.
- Add more beads on top if you wish.
- Double-knot the end of your string to the jump ring.
- Attach the jump ring to the lobster clasp.
*I did not do this, but would suggest adding a little hot glue to my knot on the jump ring as mine already untied. But I think adding the glue should do the trick. Thank goodness for the glue gun!
 These keychains look especially good attached to your black bags because of how much the colors pop! Add them to your beach bag, your car, your purse or backpack or give them away to friends!


 This is only the second time I have tried macrame and this post is not a tutorial, but I wanted to show you how you can mix different types of textiles, fibers, and techniques to create a unique piece.
  After looping the macrame rope onto a wood dowel with a lark’s head knot, I taped it down to my cutting mat to hold it in place. The macrame was made entirely with diagonal double half hitch knots using a tutorial from
  After I decided the pattern was finished, I tied rope around both edges of the dowel, knotted it and then brought both ends up and to the middle to make a triangle shape and then knotted it again.
 To play on the macrame pattern of circles and triangles, I tied the triangle into the gold hoop. I had previously looped the dark grey yarn along the bottom of the hoop with the lark’s head knots, similar to my other


 Laura is a 30-something California native who transplanted to the Midwest seven years ago with the love of her life. She isn’t always enamored of the cold weather, but she does love having a great excuse to knit and spin warm woolies. She is a knitter, spinner,