Did you catch those adorable little mason jar favors on my last post, A Metallic Garden Bridal Shower? Mason jars are the way to package things these days but it can be challenging to dress them up while staying in line with the guest of honor’s tastes. Here’s how we did it.
My sister, Emily made these gorgeous gem shaped soaps and we knew that they deserved something beautiful to be packaged in.

She found the cutest, little mason jars. We added some white and gold shred inside which held and protected the soap gem perfectly.

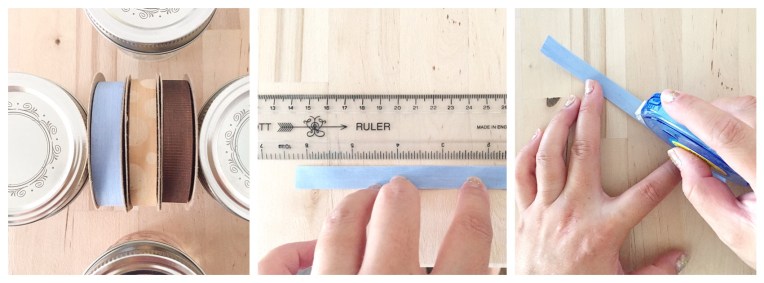
For the top of the jar, the good folks at Cream City Ribbon sent me some of their gorgeous ribbons in the colors, Copen, Copper and Kraft with Cream. I wish you could feel these. They are super luxurious and elegant while having a paper-like, artisanal feel. I knew they would give the favors a touch of fancy while still having an understated beauty, just like my sister, the bride-to-be’s tastes!

To make the bow, I cut pieces of ribbon about 6 inches long. Using craft glue tape, I glued them into loops.
I brought the loop down in the middle and wrapped a small piece of ribbon around the middle.

Aren’t they adorable? This type of bow can be difficult to make look elegant if you don’t have the right type of ribbon and the Cream City Ribbons worked perfectly. I almost want to make little hair bows out of them!

Using my handy Cricut, I cut out octagons with a heart and the couples initials. The bow was glued right in the middle.

And that’s it! Wasn’t that super easy? Not only are they so cute on their own, but they look amazing all lined up in rows together ready to be taken home and enjoyed.


 This post contains affiliate links, which means I receive a small compensation if you make a purchase using the links below.
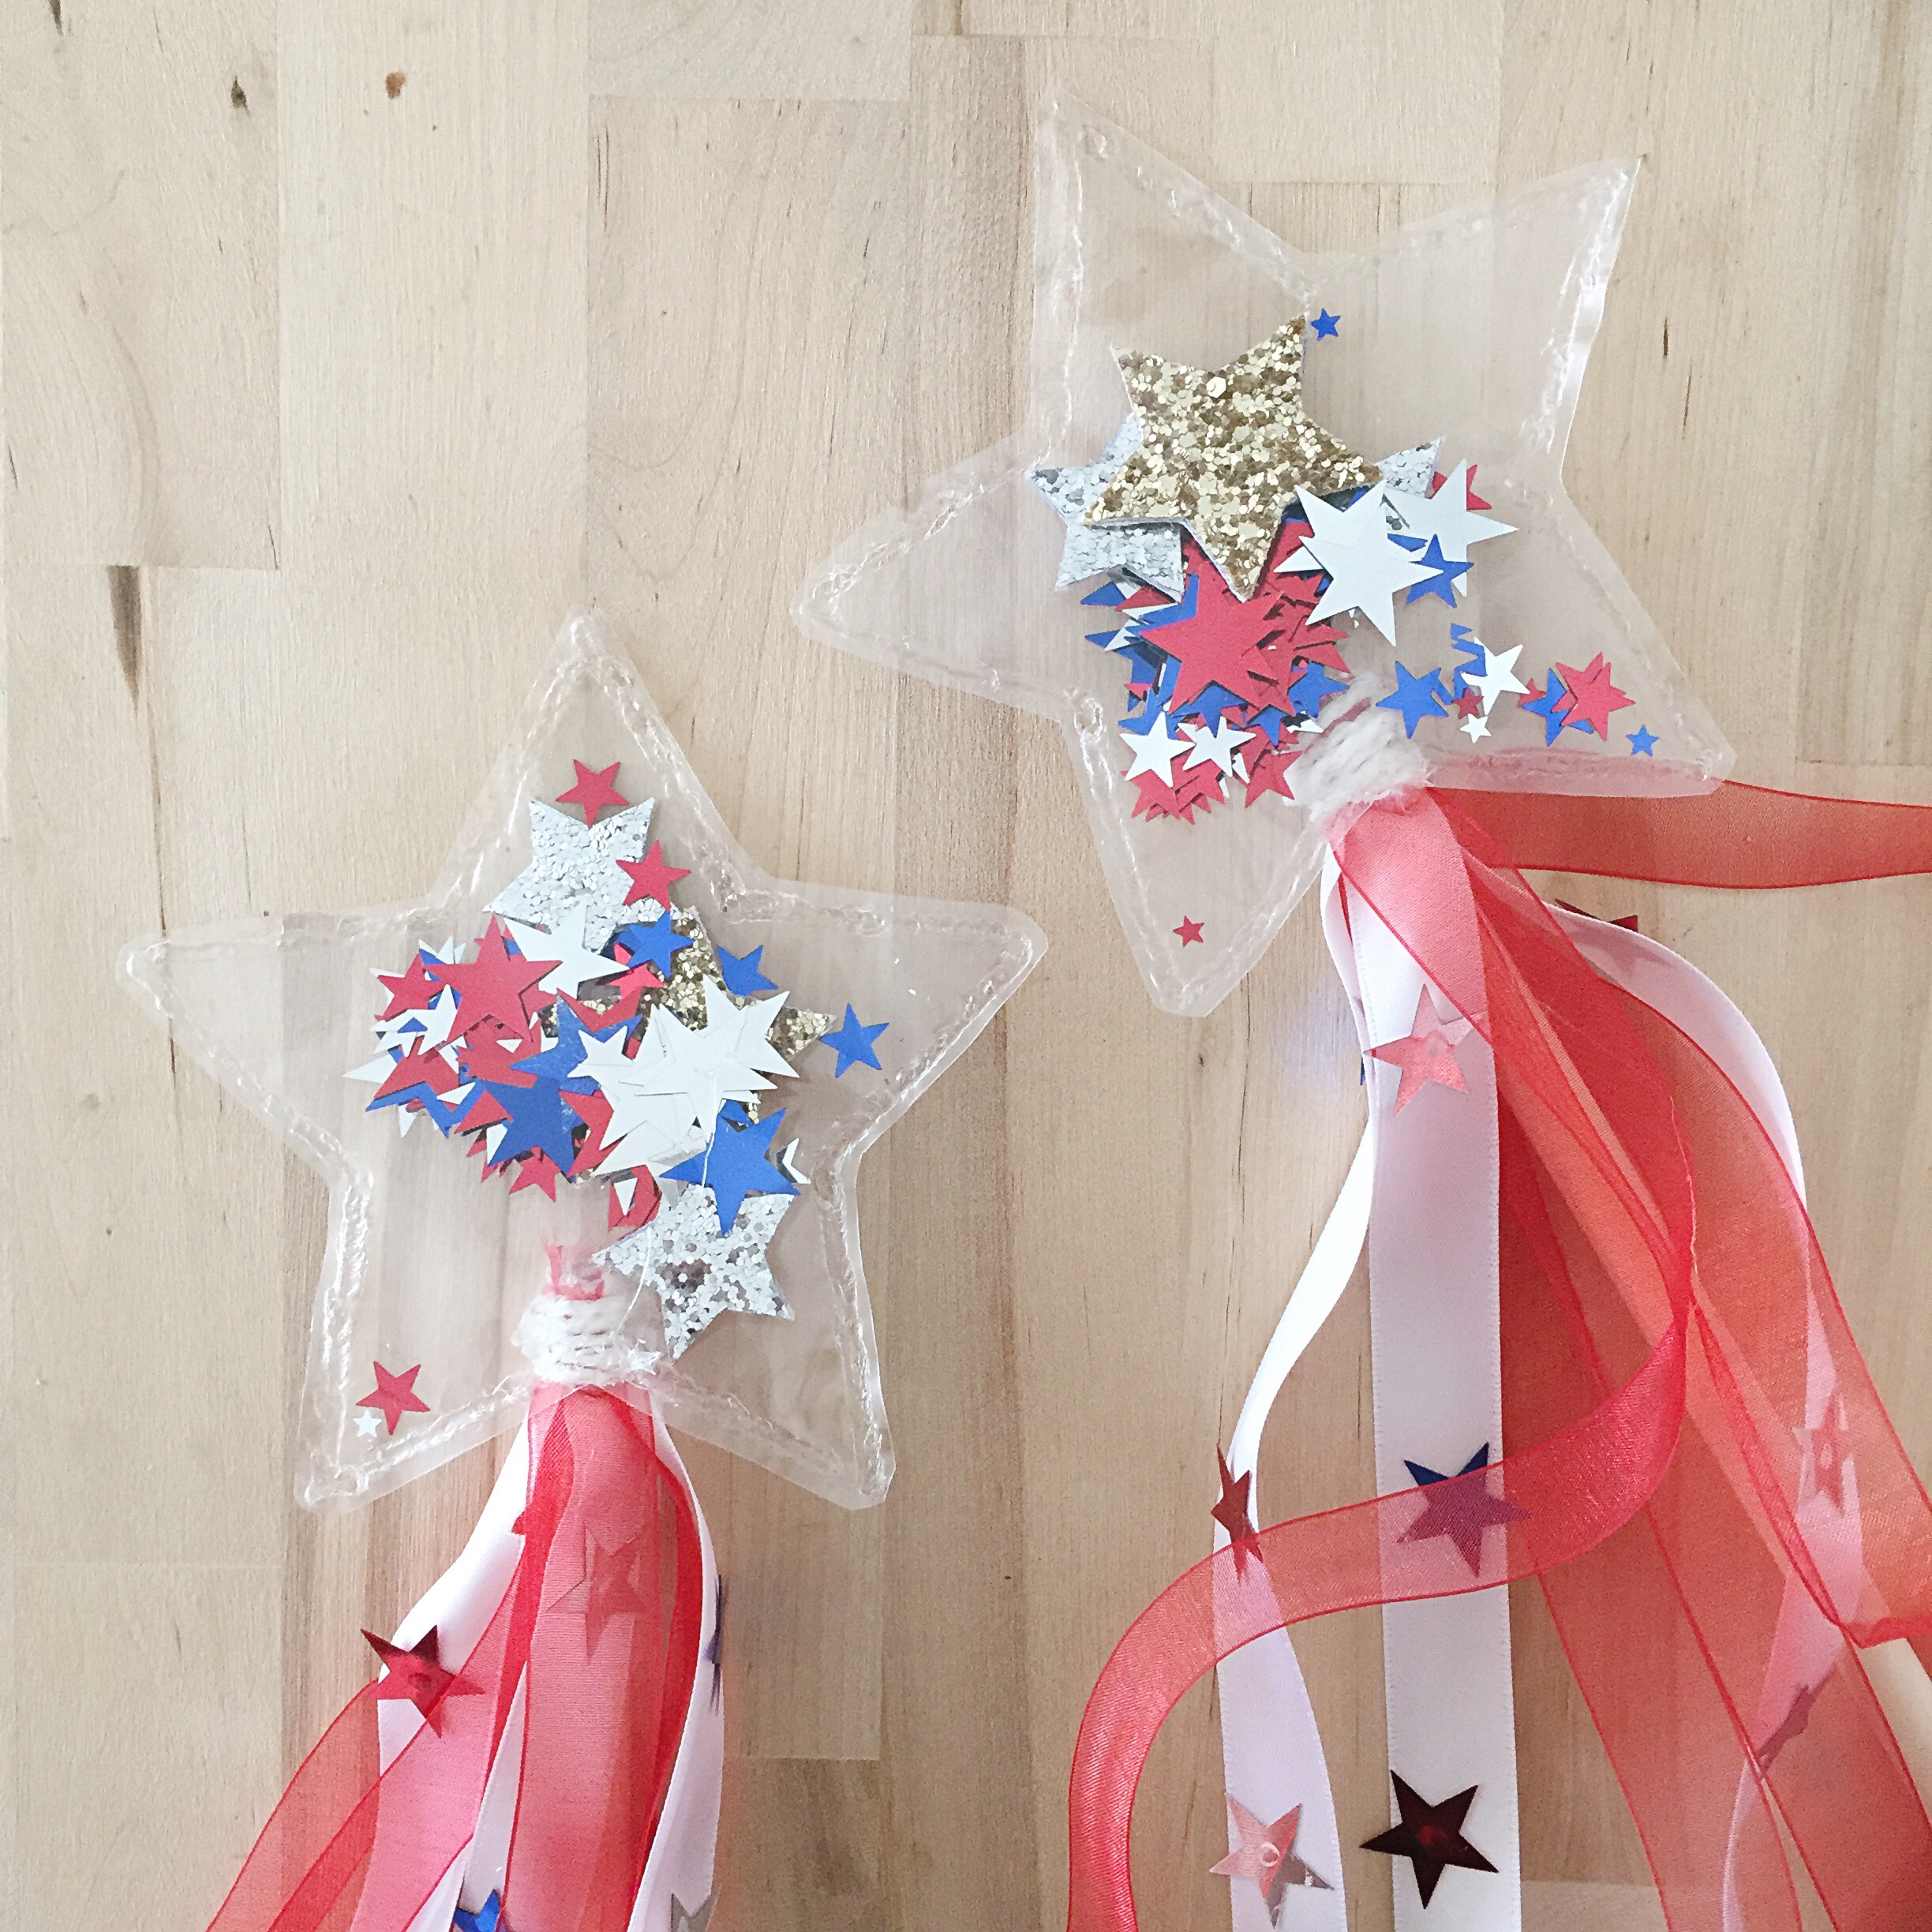
 Cut out some stars, a little larger than the confetti, out of the glitter canvas. I cut enough to glue them back-to-back so that each side was a glitter side!

 Wrap your thin rope to cover the edges of the ribbon around the top of the dowel and secure with hot glue. Add a generous amount of hot glue to the wrapped rope, wait a few seconds for it to cool a bit, and then attach your shaker star.